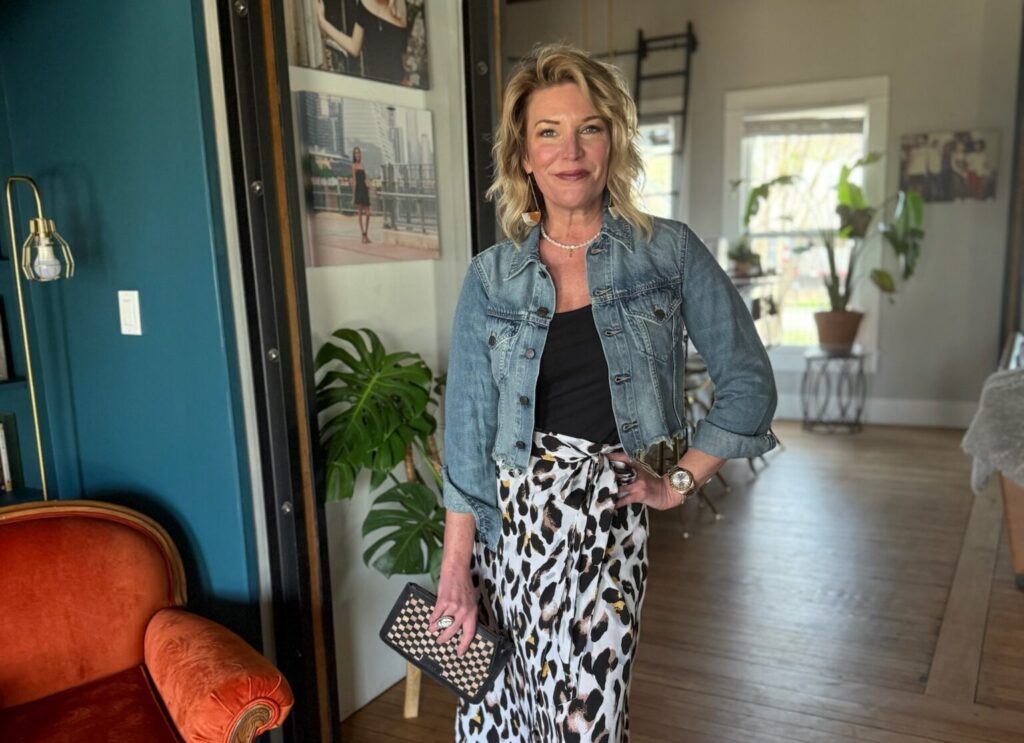
You have asked [[consults notes]] approximately 17933901 times for help on how to curl your hair. Look, I am not an expert here; I’m learning right along with you. But I have sort of finally figured out the best way to curl hair when it’s short — at least for me. And so here we are.
So, first things first: the hair does not start out good. Some people can hop out of the shower, do a casual towel-dry, let it air-dry like it’s no big deal, and walk out the door looking like a literal shampoo commercial. I am not one of those people. Never have been. My hair is frizzy, multi-textured, and a real piece of work. It requires heat. It requires product.
That said, let’s get into it.
Step One: Smooth It Out
Start with towel-dried hair and spray on Ionic Bonding Spray. I have no idea what it actually does, but my stylist told me to use it, and I am nothing if not obedient. It helps tame the chaos and smooth things down — which is exactly what we need at this point in the journey.
Step Two: Add Just a Little More Magic
Next up: Prose curl cream. This is a custom haircare line, and it’s great, but a word of warning — just use a little. If I go too hard, my hair turns into a greasy weighty situation, and we are not here for that.
Step Three: Blow Dry with Patience and Perseverance
My hair is dense. Not just emotionally — physically. So I have to blow dry it section by section, or else it’ll stay wet until next Tuesday. I part it down the middle during this step just to keep things organized.
Step Four: Time to Curl It Like It’s 1994
Now comes the actual curling part. The best way to curl hair for me is with the Beachwaver that has a one-inch barrel — shoutout to the 90s for this glorious tool. It heats up faster than you can say “spiral perm.” I divide my hair into little sections and curl each one backwards, like a Farrah Fawcett homage.
A quirky feature of my hair: it’s curly at the root and… not at the ends. So I spend extra time getting the roots smooth before curling everything.
Heads up: this takes a minute. BUT — here’s the kicker — once I do the full process after washing, it holds for three or four days. No re-curling. No re-anything. She’s locked in.
Step Five: Yes, It’s Too Curly. That’s Fine.
Once I’m done curling, it looks too curly. Like, 1988 prom ringlets. Don’t panic. This is just a phase. It settles. It relaxes. Everyone calm down.
Step Six: Spray, Cool, and Tousle Like a Pro
Before I touch anything, I do a light spritz of hairspray. Not an ’80s-era grandma shellac, just a “hey, remember this shape” kind of spray. Then I wait for everything to completely cool down. You mess with it while it’s hot, and you’re asking for chaos.
Now comes the very scientific tousling process. I just kind of get in there and break up the curls — no brush, just fingers. Fluff it. Toss it. Get rid of the prom ringlets. It already starts looking better, right?
Then I grab a little comb pick — which I totally stole from Ben Hatmaker — and make a side part. Just eyeball it. If it feels right, it’s right.
I move some pieces around and tuck a bit of hair behind one ear, because I like the tuck. But you do you. Don’t like it? Don’t do it.
The Grand Finale: “Let’s See the Back”
Okay. This is the moment I pretend I know what the back looks like. I feel around, do a little fluff, and hope for the best. If the back looks weird? Whatever. You can’t see it. Out of sight, out of mind.
I like to bring some pieces forward, just to frame the face, and boom — we’re done.
The Finished Look (Eventually)
Now listen, it still looks a little too curly, like my mom just styled me for Olan Mills in the late 80s. But give it an hour. It calms down into these soft, lived-in waves, and then it’s perfect — and it stays perfect for days.
So that’s the whole thing. I did a “how to curl your hair” tutorial. We did it. Thank you for coming to my TED Talk.
And for real: just watch the video. It’ll make more sense.


